We love strawberries around here, in fact when I buy a container of them from the grocery store it is a safe bet they will be inhaled in a matter of minutes. So naturally this was one plant I have always wanted in my garden. I have tried for the last couple of years to have a large, producing strawberry patch and what I've produced is a few, tiny (but very yummy) strawberries and I'm constantly fighting over them with the birds, netting and all. With that said, I am not one to give up easily so this year I got me another flat, a brand new raised bed in my garden, some dang good soil and a bb gun (kidding). There is a lot of information out there on planting strawberries and everyone seems to have a different opinion on how it should be done. Because I like to keep it simple I will be following the instructions below for my 2014 strawberry patch.
Seed Starting and Propagation
Strawberries are hard and time consuming to start from seed so buying starter plants is the best way to go. Although if you'd like to go for it with seed check out the resources below. Plant four weeks before the last frost in full sun 6-12" apart or four per square foot. Strawberries like rich, well-drained soil.
Care
Water weekly or twice weekly during dry periods. Cutting runners off as they appear with keep the parent plant growing bigger and better berries. Pull up old plants and replant every 3-4 years. It's a good idea to put bird netting over the plants because birds love strawberries or get that bb gun (again, just kidding).
Companion Planting
Spinach, beans, borage, and lettuce.
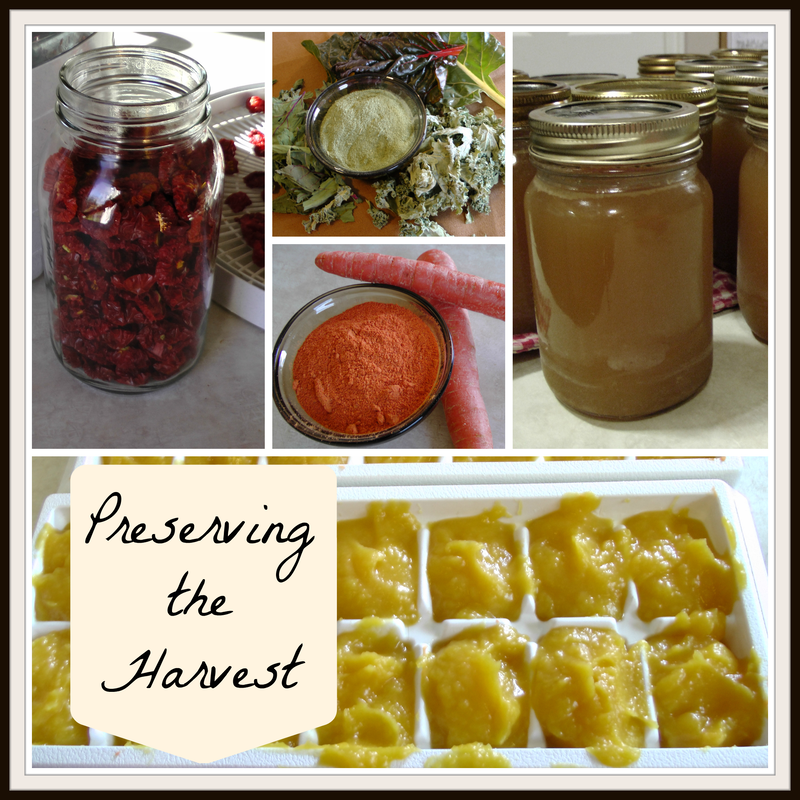
Harvesting and Preserving
Pull or cut berries as they ripen. June bearing varieties will provide all your strawberries at the same time making them the ideal variety for making jam, freezing or other preserving. Ever-bearing varieties are good for picking and eating all season long, not for preserving. Strawberries are fun to preserve as you can make jam, syrup, fruit leather, you can freeze them whole and one of our favorites is cutting them in slices and dehydrating for a real "fruit snack."
Nutrients
Strawberries not only taste delicious they are also packed with vitamins and minerals including; vitamin C, B-complex vitamins, vitamin B-6, niacin, riboflavin, pantothenic acid and folic acid, antioxidants, vitamin A, vitamin E, minerals like potassium, manganese, fluorine, copper, iron and iodine.
Resources
The Heirloom Life Gardener by Jere and Emilee Gettle has some serious strawberry growing instructions, including how to start from seed and save seeds.